In my cartoonishly derived world nothing reminds me more of a parisian afternoon, than a pastel french stripped manicure. Pastel colours are so light and feminine, not to mention the fact that the easily blend into any season. The light dreamy colour's tend to compliment London's dreary grey skies and elongate what seems to be the shortest nails on the planet! Without further a due (I've always wanted to say that) here's the tutorial.
Tutorial Time!
Step One - Remove Old Nail Polish
This ones a bit of no brainer, but nonetheless a clean nail surface is highly important, if you want you're manicure. (If your looking to skip the obvious skip to step 6)
Step Two - File Nail
File nails in one direction... one direction (see what i did there), filling in multiple directions causes the different layers of the nail to split causing peeling which leads to nail breakage. Also you may buff the nail, to increase the adhesiveness of the polish, just don't over do it... unless you want paper thin nails.
Step Three - Apply Nail Treatment
Nails,just like every other aspect of your body, need nourishment. A nail treatment from brands such as Revlon, Sally Hansen and Essie will help to make nails less brittle and strengthen them. Or if you want to add olive oil, coconut oil, almond oil or a thick lotion to the nail to soften your cuticle.
Step 4 - Push Cuticle
Using a cuticle pusher or if your as ghetto/rachet as me an old bangle, push your cuticle back a little to give nail polish a neater appearance when applied.
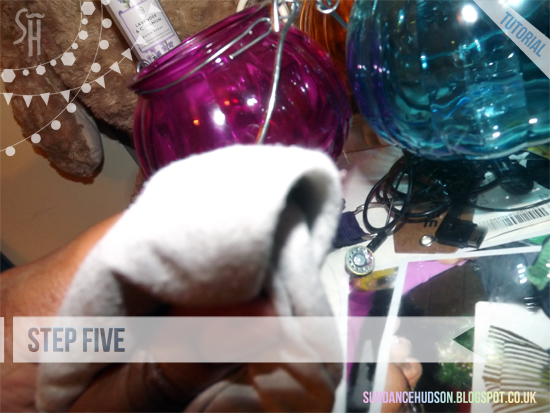
Step 5 - Clean Nails
Once you've allowed the nail treatment to soak in, you'll need to remove the excess oils of the nails to allow for a clean dry surface for the nail polish to adhere to. Some people use nail polish remover to do this, I personally find this far to drying so I just use plain old water and a cloth to rub off as much as possible.
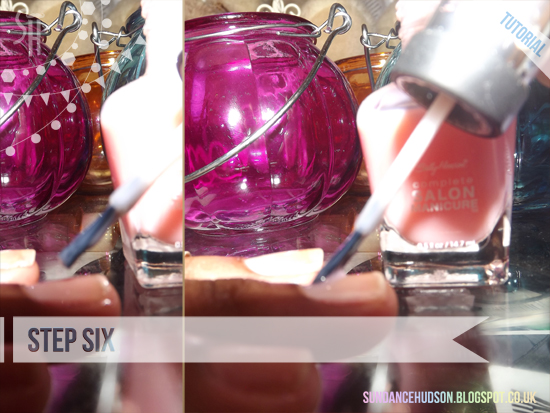
Step 6 - Base Coat
Apply a good base coat, at the time of this tutorial I was using Sally Hansen Complete Salon Manicure in Camelia, even though it was self leveling and gave my nail polish a great glossy surface. It stained my poor nails the ugliest shade of yellow, so it's important to buy an actual base coat that prevents nails from staining. I'm currently using GOSH Nail Hardener.
Step 7 - Base Colour
To get the parisian look, apply a two coats of a pastel nail polish to your nails, or you can chose any other colour you wish if you just want stripes. I am using Revlon Top Speed in Lily.
Step 8 - Stripes
Using a white striper polish, L.A Colours, carefully draw lines vertically down the nail. I find it easiest to draw a line down the middle then work my way out on either side.
Step 9 - Top Coat + Clean Up
Once the nail polish is dry use what is in my opinion the best top coat ever, Sally Hansen Insta-Dri and seal the design in. If your like me and mess your cuticles up with polish you can use a Q-tip and nail polish remover.
Tip: Wait till you have a shower, the warm water softens the cuticles and dead skin, meaning you can just rub off all the excess nail polish.
Enjoy your manicure!
Leave pictures in the comments to show me your results.
sundancehudson.blogspot.co.uk